


How to Remove WPC Wall Panels from the Wall?
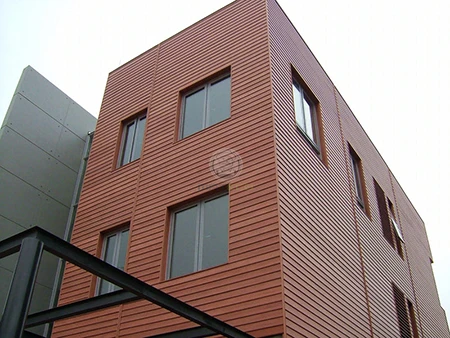
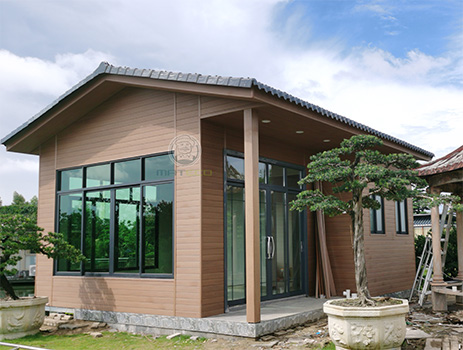
WPC wall panels are widely used in commercial buildings, hotels, offices, and residential projects because of their durability, fast installation, and clean appearance. But there are circumstances where removal is necessary — whether for renovation, structural work, or upgrading to new product lines. Knowing how to remove panels properly can save time, protect materials, and prepare the surface for the next stage of construction.

Table of Contents
When Should You Consider Removing WPC Wall Panels?
Although WPC panels are designed to last for many years, there are several scenarios where removal becomes the practical choice:
Renovation or Redesign – Interior or exterior upgrades often require clearing existing panels before new finishes can be installed.
Damage or Failure – Panels may need to be replaced if cracked, warped, or mechanically damaged due to impact or improper installation.
System Upgrades – In commercial projects, access may be required behind the panels for electrical rewiring, HVAC upgrades, or plumbing maintenance.
Switching to New Products – Wholesalers and contractors may choose to replace older WPC panels with newer co-extruded or UV-protected models that offer better warranties and performance.
Moisture or Structural Issues – If water infiltration or wall damage occurs, panels need to be removed to repair the substrate.
Tools and Equipment Required
Before starting removal, prepare the right tools:
Pry bar or flathead screwdriver
Power drill or screwdriver (for clip- or screw-based systems)
Utility knife (for trimming sealants)
Gloves and safety glasses
Step-by-Step Guide to Removing WPC Wall Panels
1. Identify the Fixing System
Most MATECO WPC panels use hidden fixing clips or direct screws. Locate the first access point — usually an exposed edge or corner trim.
2. Remove Trims and Accessories
Take off corner trims, end caps, or decorative profiles. Cut through any sealant with a utility knife to avoid damaging the panel edges.
3. Release the First Panel
For clip-based panels: gently lift the panel using a pry bar until it disengages from the fixing clip.
For screw-fixed panels: unscrew the fasteners with a power drill.
4. Continue in Sequence
Once the first piece is free, the rest can be removed in order. Work panel by panel until the entire section is cleared.
5. Inspect the Substrate
After removal, check the wall or frame structure. Clean surfaces, replace damaged joists or clips, and prepare for reinstallation if new panels are planned.

Important Considerations for Contractors and Distributors
Reuse Potential – If panels are removed carefully, they can often be reused, which is cost-effective for large projects.
Waste Management – Panels that cannot be reused should be disposed of responsibly. Many WPC products are recyclable, which is an advantage for eco-focused projects.
Time and Labor – Plan removal during off-hours or phased scheduling to minimize disruption in commercial spaces.
Upgrading Opportunities – When removing panels, it may be beneficial to propose upgrading to UV Armor co-extrusion products, which carry a 15-year no-fading warranty and superior durability.
Conclusion
Removing WPC wall panels is straightforward if you understand the fastening system and follow the correct sequence. For wholesalers, builders, and contractors, the decision to remove wall panels typically hinges on renovation needs, material upgrades, or structural engineering requirements. Performing the removal correctly protects the existing wall structure, minimizes downtime, and prepares the surface for efficient reinstallation using next-generation WPC products.
If you are looking for a WPC manufacturer, MATECO will be your best choice.
WhatsApp: +86-13380085620
Email: info@matecowpc.com